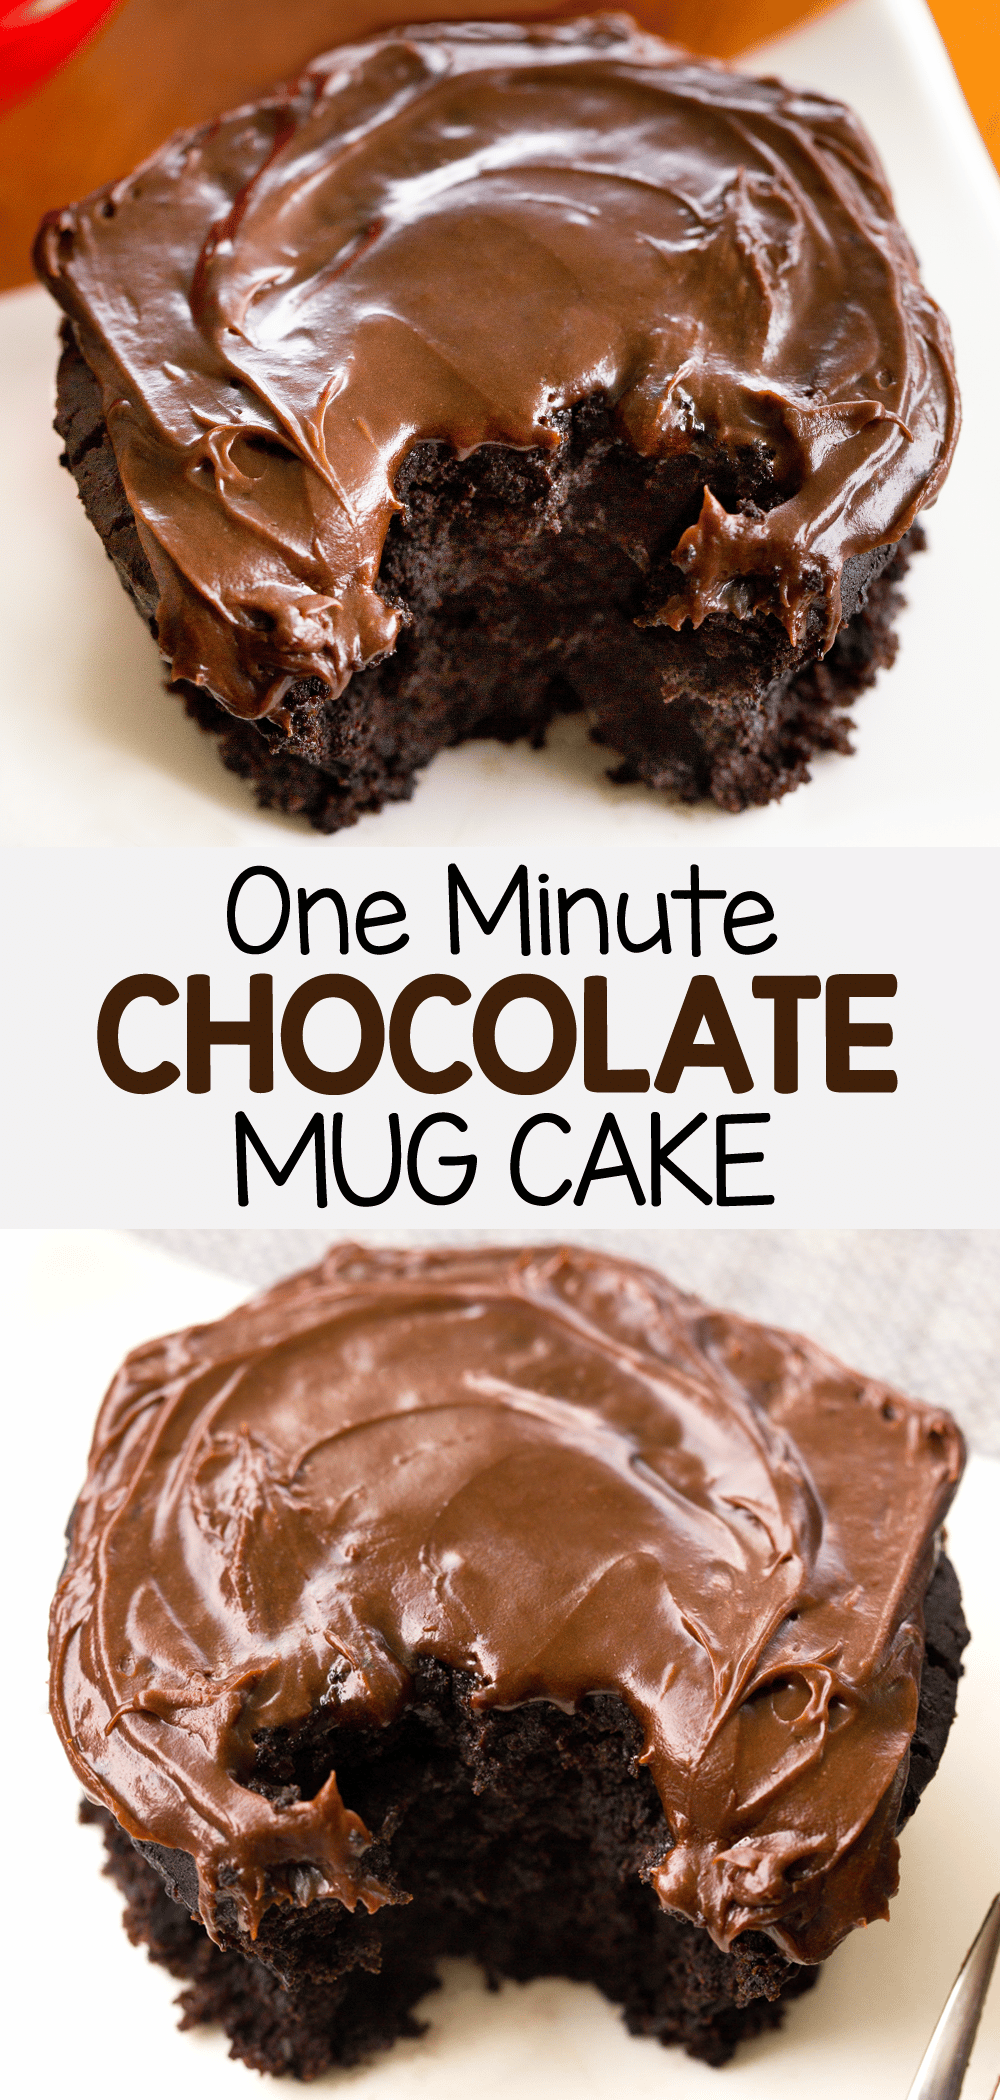
People say this fudgy chocolate mug cake recipe is the best mug cake they’ve ever tried. And you can make it in the microwave or oven!


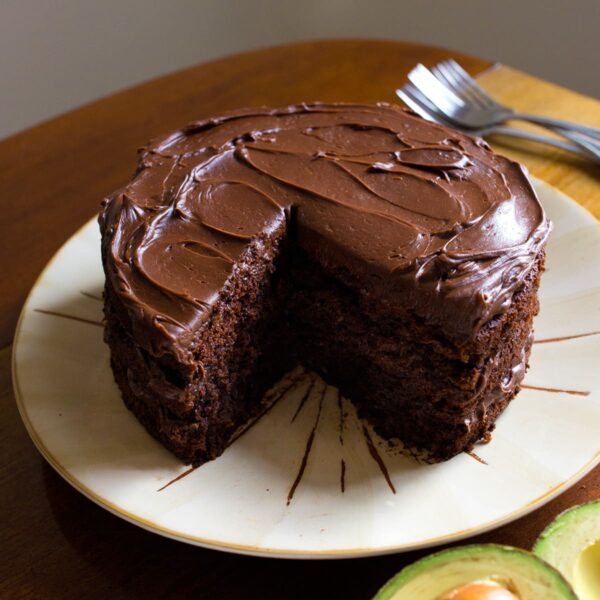
The best chocolate cake in a mug
This is the chocolate mug cake recipe for chocolate lovers.
Rich, decadent, and delicious, the recipe has over two thousand positive reviews from readers who’ve made the chocolate cake and absolutely love it.
So if you’ve been disappointed with other chocolate mug cake recipes in the past, definitely be sure to give this one a try, because it will not disappoint!
Readers also love this Brownie in a Mug

Microwave chocolate mug cake recipe
I could tell you that I labored in front of a hot oven all day baking this cake.
But the reality is that the chocolate mug cake took only one minute.
Yes, really.
And it is made with pantry staple ingredients you can always keep on hand, with no eggs required.
Any time you are craving chocolate, now all you have to do is head to the kitchen and whip up this easy chocolate dessert in the microwave.
You can even portion out the dry ingredients ahead of time and store the chocolate cake mix in small Ziploc bags so the recipe will be even quicker to make when you’re ready to eat.
It’s like chocolate cake meal prep!
For a larger version, try this Vegan Chocolate Cake

Chocolate mug cake flavors
Chocolate Peanut Butter: Omit the oil in the recipe below, and stir in one or two tablespoons of peanut butter (or almond butter) in its place.
Nutella Mug Cake: Instead of oil, add a tablespoon of your favorite chocolate hazelnut spread. I like this Homemade Nutella Recipe. Top with more Nutella!
Chocolate Peppermint: Stir a fourth teaspoon of pure peppermint extract into the liquid ingredients before stirring everything together to form a batter.
Dark Chocolate Coconut: Use coconut oil, and top the finished mug cake with dark chocolate chips, shredded coconut, and a scoop of Coconut Ice Cream.
Mocha Mug Cake: Stir half a teaspoon of instant coffee granules, regular or decaf, in with the cake’s dry ingredients.
Chocolate Orange: Add one teaspoon of orange zest to the mug before stirring.
What is your dream single serving mug cake flavor? If there are any other ideas you’d like to see that I do not have listed above, definitely let me know!

Frosting options
Feel free to decorate your single serving chocolate cake with shredded coconut, chopped walnuts or pecans, mini chocolate chips, hot fudge sauce or caramel sauce.
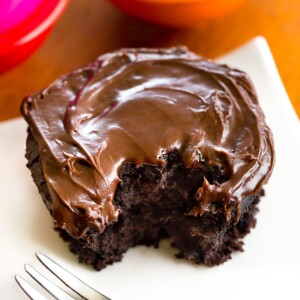
I used this homemade Chocolate Cream Cheese Frosting.
Or you can frost the cake however you wish, such as with store bought or homemade vanilla or chocolate frosting, powdered sugar or melted chocolate, sliced bananas, strawberries, cherries, blueberries, or raspberry jam.
It’s also wonderful topped with Coconut Whipped Cream or Almond Milk Ice Cream.
Chocolate mug cake recipe video
Above, watch the step-by-step video
How to make a chocolate mug cake
Step One: Start by combining all of the dry ingredients in a cereal bowl or small dish. Stir very well, to ensure the salt and baking powder are evenly distributed.
Step Two: Add liquid, stir to form a chocolate cake batter, and pour the batter into a microwave or oven safe dish, ramekin, or coffee mug.
Especially if you are not planning to eat the cake straight out of the mug, be sure to grease the dish well before adding the batter.
Step Three: Microwave for thirty to forty seconds. Mine is always fluffy and cooked through after this time, but you may need to cook longer depending on your microwave’s wattage.
Or bake the mug cake in the oven for fourteen minutes or until a toothpick inserted into the center of the cake comes out mostly clean.
Step Four: Frost the top of the chocolatey dessert and enjoy. To store leftovers… Wait, what leftovers?

Mug cake recipe ingredients
Here’s what you need to make the single serving recipe: cocoa, flour, sweetener, salt, baking powder, milk of choice, pure vanilla extract, and oil or banana.
Cocoa powder – Use regular unsweetened cocoa powder for the first tablespoon of cocoa. Dutch cocoa powder, hot chocolate mix, or additional regular unsweetened cocoa can be used for the two teaspoons.
Flour – The recipe works well with white flour, oat flour, all purpose gluten free flour, or spelt flour (my personal preference). I have not tried it with any other options such as whole wheat flour or pastry flour.
A keto mug cake version with almond flour is also included in the recipe box below.
Sweetener – This can be granulated sugar or unrefined coconut sugar or a liquid option like pure maple syrup or honey.
For a sugar free mug cake, use xylitol or granulated erythritol. Stevia technically works, but the flavor and texture are better if you go with one of the other options listed here.
Fat source – I think the cake tastes best made with coconut oil. My second favorite choice is peanut butter or almond butter. Vegetable oil is also fine to use.
If you want a low fat or fat free mug cake, many readers have written in to say it works to substitute applesauce, Greek yogurt, sweet potato, pumpkin, or mashed banana. I much prefer the taste with some fat added, but that is a personal taste preference.

Vegan chocolate mug cake
The mug cake is already naturally eggless, which means it is super easy to create a dairy free and vegan version.
Just use a plant based milk, such as coconut milk, soy milk, or almond milk. If topping with chocolate chips, ice cream, or frosting, choose vegan options for those as well.
For a gluten free chocolate mug cake, use either oat flour or gluten free all purpose flour. If you experiment with any other gluten free flours, let me know how it goes.
You may also like these Vegan Chocolate Chip Cookies

Chocolate Mug Cake
Ingredients
- 1 tbsp cocoa powder
- 2 tsp Dutch cocoa powder or additional regular
- 3 tbsp flour spelt, white, oat, or all purpose gluten free (or try this Keto Mug Cake Recipe)
- 1/8 tsp salt
- 2 tbsp sweetener of choice
- 1/4 tsp baking powder
- 2 1/2 tsp oil or nut butter (While I much prefer the version with fat, many commenters say they love substituting applesauce or mashed banana here)
- 3 tbsp milk of choice
- 1/2 tsp pure vanilla extract
Instructions
- How to make a chocolate mug cake recipe: Combine dry ingredients and mix very, very well. Add liquid, stir, then transfer to a little dish, ramekin, or even a coffee mug. Either microwave 30-60 seconds (time will depend on your microwave's wattage) OR cook in a preheated 350 F oven for about 14 minutes. If you don’t want to eat it straight out of the dish, be sure to spray your dish first and then wait for the mug cake to cool before trying to remove it. Frosting ideas are listed above in the post!View Nutrition Facts
Video
Notes
Easy Chocolate Dessert Recipes


Katie you TOTALLY deserve it! Congrats!!!
Applesauce worked great and the batter alone was delicious (yeah for no eggs/salmonella!)
BRB HAVING A LIFE CHANGING EXPERIENCE.
Congrats!
I tried this cake last night……………oh boy it is GOOOOOOOD! I want to make this every day, twice a day, but then I wouldn’t get to try your other recipes, so I’ll resist and make it every other day!
I substituted apple sauce instead of oil and I put a few chocolate chips in the center. YUM!
Thanks for the delish dessert Katie! <3
I just made this as an afternoon snack for my 2.5 year old and I. Let me just say, delicious! I didn’t even have any vanilla, and I had to use olive oil instead of veg or coconut, and it STILL was so good!
I made this for dessert tonight and it was really good! I drizzled some peanut butter on top too and it was incredible =)
Congrats, not only on the award but for making life as a single lady so much easier!
Wonderful recipe and photo. And it seems easy!
I just made this and it was delicious! I threw in some chocolate chips after it was microwaved to make it the perfect amount of sweetness. It solves the problem of making a whole cake that most of it gets thrown away because everyone gets sick of eating cake every day to finish it off. one-person-cake is perfect!
Congrats Katie!! You totally deserve this award and this recipe proves why!! Its simple, has few ingredients and taste awesome!! Even my picky little sister liked it!! You have taught me so much about eating healthy and still being able to eat things that taste good!! keep up the awesome work 🙂
Having tried some of the other microwave cakes out there before, I have to say, this is the best chocolate cake ever! Instead of icing, I spread some peanut butter on top right after it came out of the microwave so it would melt a little bit. Mmmmmmmmmm… It may be a little dangerous now that I am only 2 minutes away from delicious cake at any time!
I just made this. I used the banana and its good!!!!!
I literally just made this and was so impressed! It was moist, had a great texture (who knew a microwave could do that?!), and definitely satisfied any chocolate craving I was having. And it still was a bit gooey at the end, so no frosting was necessary.
How did you come up with this?!
I am so glad you liked it!! Oddly enough, it was a mistake! I was trying to do a molten lava cake, and I didn’t have time to bake the third attempt while the oven was still hot. So the next day, when I finally got a chance to cook it, I didn’t want to heat the oven just for one cake! 🙂
Just wanted to let you know that I made this last week…and WOW! It was super delish. I was doubtful when I put it in the microwave, but it was so satisfying 🙂
This cake is the most awesome single serve cake I have ever tasted!!
hmmmm. perfect!