Julie Andrews had it right.
The beginning is a very good place to start.
I wish we could jump right to part 2 and talk photo flair. (Ribbons! Flowers! Glitter!)

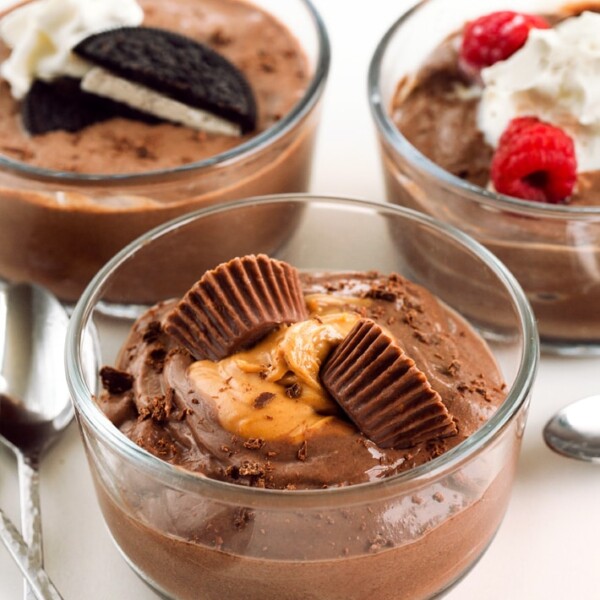
In the above picture: Chocolate-Peanut Butter Fudge.
I often skip through the first few steps while reading directions. (I’m especially notorious for skipping directions when assembling something. Does anyone else do this?)
Unfortunately, skipping directions in an attempt to save time can occasionally backfire, leaving me confused and even costing time in the long run.
So let’s start at the very beginning…
Food Photography: The Basics
Good news!
You do not need to have a fancy digital camera to take advantage of these tips. I haven’t taken any photography courses, and therefore it would be ridiculous for me to offer you technical tips on how to work your digital camera.
What I can offer are some basic photo-styling tips you can use with any camera. These tips are all ideas I’ve learned from experience; trial and error.

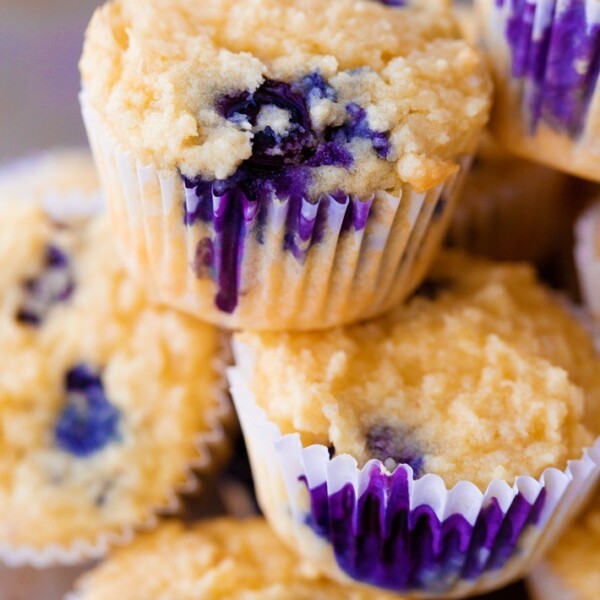
Photo taken with natural light: Peach Breakfast Cobbler.
Tip #1: Listen to Nelly Furtado
Turn off the lights! That goes for your camera’s flash too.
When photographing food, keep the flash off at all times. Walk around and try to find the area in your home that has the most sunlight. I take photos almost exclusively in my living room, and usually somewhere around 11-4pm, because this is where/when I’ve found the best lighting conditions. Sometimes I take photos outside, too. Overcast days are great for this; too much sunlight can cast ugly shadows and make your photos look harshly overexposed.

Photo taken in my living room: Healthy Starbucks Frappuccino.
Tip #2: Keep it Steady!
You’d be surprised at just how much havoc a tiny shake of the camera can wreak on a shot. It baffles and frustrates me they’re doing away with viewfinders in point-n-shoot cameras, because holding the camera right up to your face allows you to be much steadier than if you hold the camera way out in front of you, without anything to brace it.
If you have a tripod, use it. (Do as I say, not as I do. I have a tripod—somewhere—but am too lazy to set it up, and therefore never use one.) If you don’t have one, or if you’re lazy like me, make sure to keep the camera as steady as you absolutely positively possibly can.

Above, on a white plate: Creamy Chocolate Fudge Pops.
Tip #3: White makes Right
Also known as the KISS principle (“keep it simple, stupid”)
When I started out, I made the mistake of thinking fancy = better when it comes to dishware. In reality, if you look at the pros, they often use very basic dishware so that the food, not the plate, holds center stage.

Above, Flourless Chocolate-Chip Cookies.
Questions of the Day:
Are you interested in photography at all?
And do you ever take pictures of your food? What are your favorite things to photograph: Food? People? Nature?


I love photography and even though I am still not very good, I know I am light years away from where I was when I started. I was an artificial-light-loving, flash-abusing, crap-producing photographer wannabe who wondered why the final result was never even close to the initial idea.
I think I am best at photographing nature but I still take a lot of food pictures and pile them in a folder on my computer 🙂 .
I mostly take shots with my cell phone camera (which takes some pretty good pics, really). Mostly these are flower photos. I’ve never been too keen on taking food photos. They usually just look like messy slop, and I do not have the patience to correct it. I do have to tell you that your photos are the most amazing things ever. They really are what makes me want to make some of the stuff you post about now as opposed to just saving the recipe for later.
Aww Sarah!!! Thank you so much! Honestly, sometimes I don’t even want to make recipes… I’d be happy just photographing someone else’s recipes! 🙂
I love love love photography! The iPhone app, Instagram, got me started on it! ^^
I take photos of food, places, and objects. I am never ever good at taking photos of people, however!
http://cupcakes-music-fashion.blogspot.com
Are you interested in photography at all? = Yes, just slightly 🙂
Love the tips…White, keep it steady, the KISS method. Good advice.
I’ve done plenty of tips posts regarding photography and another thing I always say to people is it doesnt matter if you have a fancy camera or not.
If the food is styled bad, i.e. it’s just ugly food, it doesn’t matter what kind of camera you use to capture it. A fancy camera will simply capture ugly food in higher resolution and in greater detail 🙂
Something to think about is working on the food STYLING and COMPOSITION, too. That’s my big tip!
I love taking pictures of trees and flowers. The University I attend/teach at has a beautiful campus and I am often the crazy person climbing in the flower beds trying to take a picture. I keep waiting for someone to get annoyed, but no one’s said anything yet!
LOL!
Awesome helpers!
heck YES I’m interested in photography! However even with natural light/tripod/ simple plates my stuff doesn’t come out quite as pretty as yours. I have issues with focus, I suppose.
Can’t wait to see more tips! 🙂
Do you have a photo-editing software? Apparently you can download free ones (I think there’s a free one called Picasso?).
I LOOVEE taking pictures of my food…everywhere I go I try to get what I consider pretty foodie pics. Natural light is def necessary in achieving this. Great tip!
I am kind of new reader here, and your blog its super awesome! 🙂
Love the tips!!!! 😀
Greetings from Mexico!
Aww thanks Maggie! I am so glad you found me!
Chocolate hugs from Texas 🙂
Great tips! Keeping dishware simple is always hard for me, as I LOVE cute and colorful ones…but white and clear really do look best!
Ugh same here! When I go to Pier One, it’s such a struggle to not buy the fancy-patterned dishware :(. But I guess it’s a blessing in disguise… saving money is always a good thing!
So helpful! Thanks Katie!
Food + photography is about as good as it gets for me! Great tips on this page and absolutely brilliant recipes throughout the site! Some of my favourite food photography is often the stuff in Jamie Oliver’s books. Not sure who does it, but it really makes me hungry! I think it’s quite nice when food photos show a dish that’s in the process of being eaten; fork perched on the plate, perhaps a sauce being poured over it, someone’s hand holding a drink. Shallow depth of field is always great for showing texture too.
Ooh I don’t think I’ve ever seen any of his photos; I’ll have to look!
I am in love with “pouring” photos! Maybe a little too much… especially chocolate-syrup-pouring photos :).
Great tips, Katie! I also use a fake-macro lens to get a nice dull background and sharp foreground, but apparently many digital cameras also have macro settings.
These are all really good tips Katie! Your photo-skills have grown so much over the years, and these days you present beautiful pictures aaaaall the time! 🙂
LOVE this post Katie! This is awesome. I definitely take a lot of pictures – and a lotttt of pictures of food. I haven’t mastered the art quite like you have but with your tips maybe I’ll get closer 🙂
BTW, my favorite has got to be the cookies with the pink ribbon, love that shot girl!
Awww thank you so much!! 🙂
I was just checking my email and I got a copy of this sent to me and I was so excited about it! I’m always trying to find ways to improve my photos but with lack of experience of actual good photography, I’m usually just lost! Thanks so much for the tips! Your pictures are always awesome
🙂