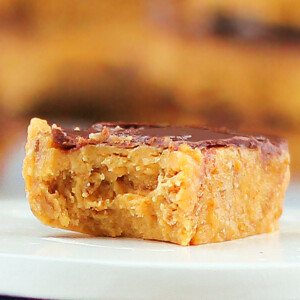
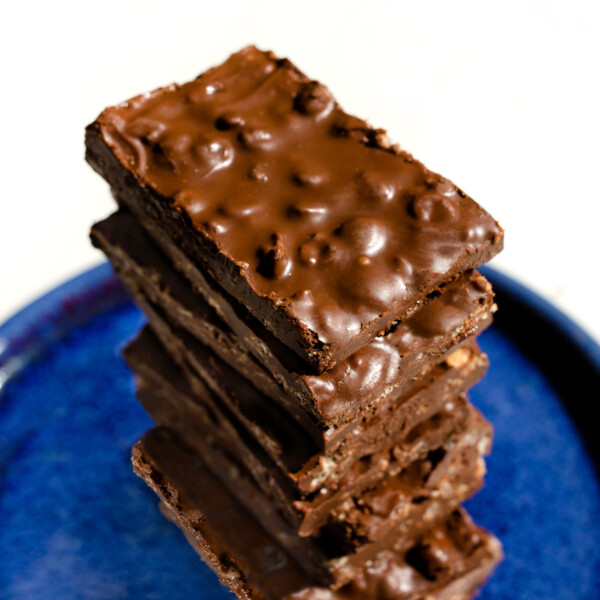
Crispety, crunchety, deliciously peanut buttery homemade healthy Butterfingers!


Healthy candy bars that defy all logic
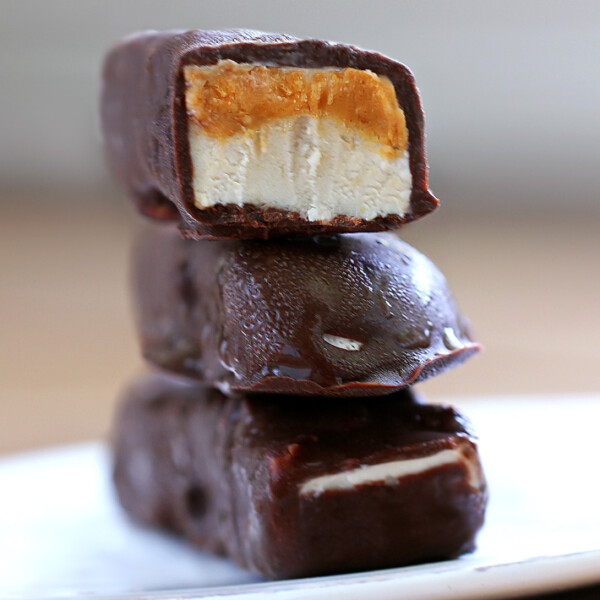
As if by magic, the homemade Butterfingers have that exact same toffee-like crunch of store-bought peanut butter Butterfinger bars!
Yet these are whole-grain, high in iron, vegan friendly, and completely free of high-fructose corn syrup. It’s one of those recipes you really have to try to believe.
You may also like: Healthy Chocolate Chip Cookies

Homemade vegan Butterfingers
The inspiration for these healthy butterfingers came from a dollar-bin cookbook that I saw at the fabric store a few weeks back.
The book recipe, which yielded an 8×8 pan just like mine, called for a full 1 cup of sugar, 3/4 cup of corn syrup, and 1/3 cup of shortening!
Yes, 3/4 cup of corn syrup in addition to the cup of sugar…
It was basically screaming for a healthy makeover!
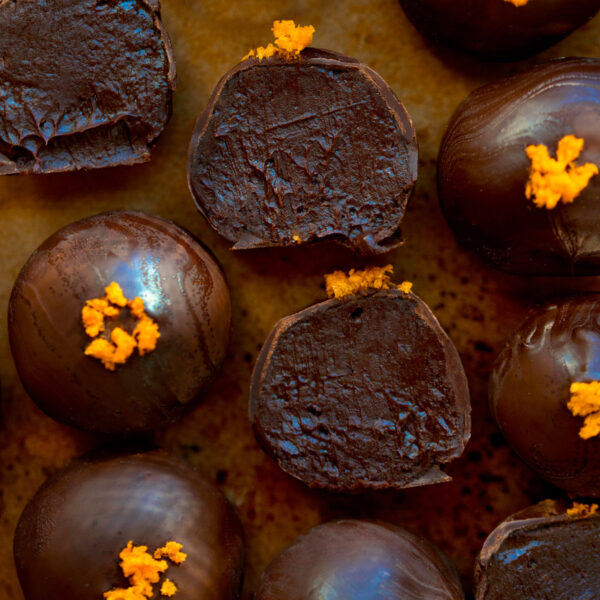
Leftover Chocolate? Make Chocolate Truffles
Healthy Butterfinger recipe video

Screaming so loudly that I had to get to work on the challenge as soon as I got home.
Luckily, this is one of those recipes that turned out perfectly on the first try – they really do taste like actual Butterfinger candy bars!
If you’re looking for a healthy or vegan dessert that will impress even the most skeptical or pickiest of eaters, these healthy Butterfingers are definitely the recipe to try on all your friends.
Also Try These Chia Pudding Recipes

In the years since I first posted them here on the blog, it’s become one of the site’s most popular recipes.
Readers often write in to tell me that even their health-food-hating dads, moms, brothers, sisters, girlfriends, or boyfriends love the bars too!

Healthy Butterfingers
Ingredients
- 1/4 cup pure maple syrup, honey, or agave (For keto, try these Keto Candy Bars)
- 1 tbsp regular or blackstrap molasses – Or omit and increase agave to 1/3 cup
- 3 1/2 tbsp sugar, unrefined if desired, or additional maple syrup
- 1 cup peanut butter or allergy-friendly sub
- 1 1/2 cups bran flakes or corn flakes, or another flake cereal (56g)
- 1/8 tsp salt, plus a little extra if using unsalted pb
- optional topping: 2/3 cup chocolate chips or 1/4 cup virgin coconut oil mixed with 1/4 cup cocoa powder and vanilla stevia drops or liquid sweetener to taste
Instructions
- Notes: Honey works, but it’s not for strict vegans and will also add a slight honey flavor. Corn syrup will also work, and commenters have said brown rice syrup works as well. If subbing out the molasses, the bars will taste less authentic but still delicious. Almond butter or Sunbutter work, or use peanut butter for the flavor that most closely resembles real Butterfingers.Homemade Butterfingers Recipe: Combine first three ingredients in a small saucepan, and bring to a boil on medium heat. Boil about a minute, stirring constantly, then remove from heat. Add the peanut butter and salt, and stir until it makes a paste. Add the cereal and stir very well to coat, partially crushing the cereal flakes as you stir. Make sure the flakes are very evenly coated. Press into an 8×8 pan—either lined with wax or parchment paper, or greased very well—and freeze until completely hardened. (Cut into bars while only somewhat frozen, or thaw the block a little before cutting.) If you wish to cover in chocolate (they’re good even without it), you can cover them at any time—either pre-cutting or post-cutting. Simply melt the chocolate chips over low heat, stirring constantly until smooth, or mix the coconut oil with the sweetener and cocoa. Then spread over the bars with a spatula and re-freeze to harden. Store in the freezer for optimum “snap.”View Nutrition Facts
Notes
Popular Recipes Right Now:
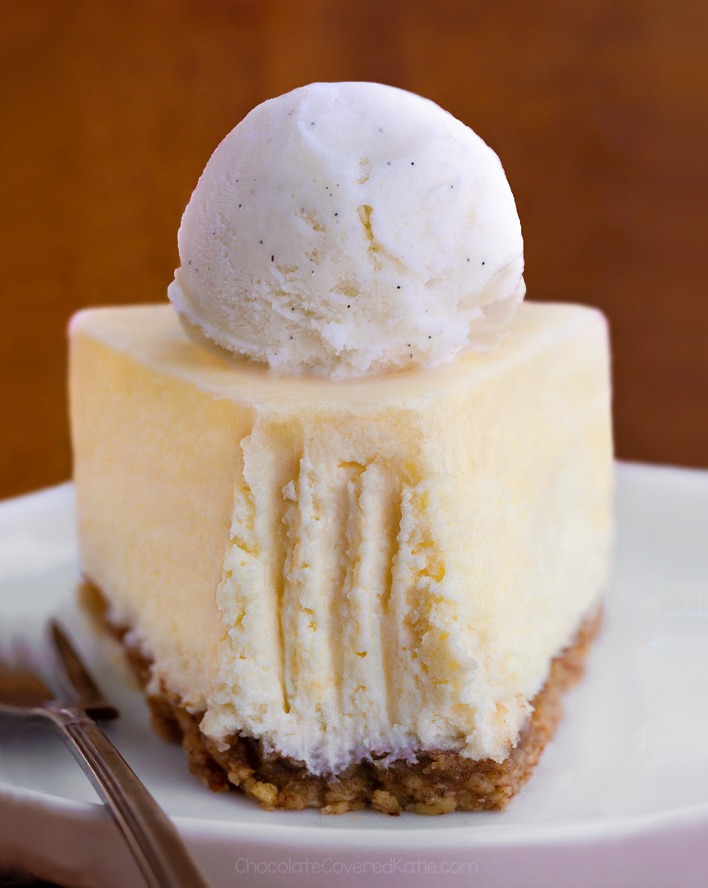
Keto Cheesecake Recipe – Just 5 Ingredients


I just made these, except I used Gluten Free Rice Krispies instead of corn flakes. Worked beautifully!
These look soooo nice! I’m a succer for butterfingers, so it’s great to be able to find a healthy alternative. I usually like to check out a site called Matts Backpack when I’m looking for healthy dessert recipes – http://www.mattsbackpack.co.uk. Personally, I love what this blog is all about. Their overall ethos of “life’s too short not to eat nice food” is what always inspires me to keep going when the chocolate comes calling!
I made these tonight with these alterations: changed the cereal to rice chex and used 3 1/2 tbsp of agave nectar for sweetener instead of xylitol. I used a range burner that runs very hot (gas) and timed a minute after the mixture started a frothing boil–I am not sure if it is supposed to be like stretchy toffee or taffy (you say toffee-like crunch but mine was like soft caramel-toffee-stretch aka taffy-like) but I saved some of the mixture after adding the peanut butter but before adding it to the cereal and it was like a delicious peanut butter taffy–which is a great dish all on it’s own. After mixing it with the cereal and crunching it up a bit I pressed them into a pan, scored it into bars, and put it in the freezer. About a half hour later I dipped them in the coconut oil-chocolate sauce (not just the top–the whole thing because that’s how I roll). I am not sure if it is supposed to be like stretchy taffy but they will break your teeth if you leave them in the freezer so I put mine in the fridge (though there aren’t many left). Very good work Katie–my family and I love your recipes! My almost 2 year old daughter spins around in circles saying ‘choc-late! choc-late!’ every time we make your 3 ingredient chocolate bars and your peanut butter breakfast pudding is one of her very favorite breakfast treats.
So sorry! I used “sugar” instead of xylitol–not agave in the above post. I made these again with the same alterations except today I used homemade syrup instead of agave (2 cups brown sugar + 1 1/2 cups water + a pinch of salt–cook on low stove top for 25 minutes–keeps at least a month in the fridge–we use this for pancakes mostly–cheaper and more delicious than the corn syrup stuff at the store–I actually like it better than real maple syrup). I didn’t keep the heat so high this time and the taffy-effect did not happen. They are more crumbly–which I think is the way Katie intends them to be. It is still a great recipe either way! Thank you Katie!
Made them last night for the family and they were a huge hit. Crispy and crumbly just like the real thing. I think they taste BETTER than the real thing, too. And so easy.
I just made these with maple syrup and they taste amazing! I was really surprised at how close the taste is to actual butterfingers!
Katie! Wow!! I can’t wait to make these. You are a brilliant one! I can already tell they will taste amazing too. Thanks! Have a great weekend.
Hey Katie!
I received this list of healthy cookies in an email earlier and look who takes the last spot!
http://caloriecount.about.com/blog/partners/5-healthy-cookie-recipes-fall-b589690?utm_source=newsletter&utm_medium=email&utm_campaign=newsletter_20121020&utm_term=title2
Made them and loved them! So delicious! My husband and kids loved them, too.
looks like we just left almost identical comments! 🙂
these are fantastic. even better than real butterfingers!
thank you for creating such a delicious recipe. my husband and son thank you too. we LOVE your website!
Hi Katie
Your blog is just lovely! Thank you so much for sharing! I just made these, but now I wonder, should they be eaten frozen or at normal temp?
Thanks again!
//Anna
They are best kept frozen, but you can thaw a little before eating…
Unfortunately, they begin to get extremely sticky at room temp.
If you want to eat them at room temp, boil the sugars together a bit longer, until they reach soft-ball stage (meaning a bit dripped into cold water forms a soft ball. I forget what temp that is if you have a thermometer, but you can look it up). I did that, and they hardened up beautifully and do not need to be kept in the fridge. Be aware though that they will be less crumbly, if butterfinger-crumbly is what you’re going for.
From Safari 5.1.7
I made these but instead of cereal (I didn’t have any) I toasted 1.5 cups oats with some coconut oil at 350 degrees until crunchy. They probably aren’t as crunchy as the cereal, but it’s another option!
Made these last night and they were amazing. Thanks, Katie! I am thrilled about this recipe. It might be my new favorite! 🙂
Katie, these are AMAZING!!! my husband said and i quote “These are better than any chocolate bar I have ever tasted!”. Needless to say they are a hit in my house! I will definitely be bringing these to my next party!!
I made these twice this weekend. The first time I used Better ‘n PB and they were quite gooey. Delicious, but a sticky mess. The second I used half Better ‘n PB, half PB2 powder (no added water) and they were much, much better. I should have known better than using all BnPB but oh well. You live, you learn. I ate them all up though. Mmmmmm
Oh my gosh. I remember butterfingers, but since they have milk in them I’ve always had to avoid them. But now I don’t! Thanks, Katie! 😀