

New York City is home to a critically-acclaimed restaurant called Dirt Candy, whose menu boasts some truly unique dishes: popcorn pudding, celery cheesecake, jalapeno hush puppies, mint chocolate nanaimo bars with a base of green peas…
You can all breathe a sigh of relief, because I did NOT use green peas in my mint chocolate nanaimo bars today.

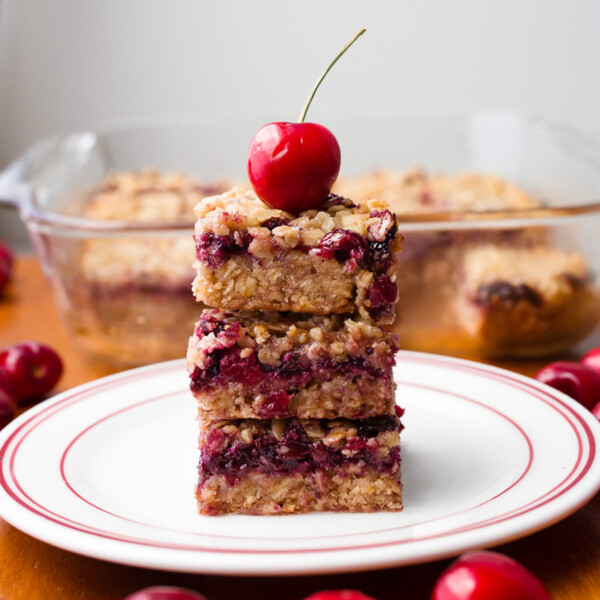
However this relief might be fleeting once you see what I did use ![]() .
.

Nanaimo bars, a popular Canadian dessert hailing from Nanaimo, British Columbia, consist of three layers: a crumbly bottom later, creamy center, and a chocolate coating for the top. While Nanaimo Bars are traditionally full of butter, refined flour, and sugar, today’s recipe offers a much healthier alternative: with one sneaky ingredient you will never suspect!

Mint Chocolate Nanaimo Bars
Cream Layer:
(For a nut-free bar, feel free to just substitute your favorite mint chocolate chip ice cream for the cream layer.)
- 1 1/2 cups raw cashews or macadamia nuts (160g)
- 1/8 tsp salt
- scant 1/4 tsp pure peppermint extract
- 1/2 tbsp pure vanilla extract
- 1/4 cup virgin coconut oil (40g)
- 2 Nunaturals stevia packets, or 2 tbsp liquid sweetener (such as pure maple syrup)
- 3 oz raw spinach (85g or 2 very-loosely-packed cups)
Place the nuts in a cereal bowl and cover with water. Let soak 8 hours or overnight. (You can make the crust layer while you wait.) Drain and pat completely dry with a paper towel. Combine all ingredients in a vita-mix or high-quality food processor, and process until completely smooth. (This can take a few minutes in a food processor.)
Crust Layer:
- 1/2 cup raw almonds, walnuts, pecans, or a combination of these (or sunflower seeds for nut-free)
- 1/2 cup shredded coconut, unsweetened (I used the full-fat kind)
- scant 1/2 cup pitted dates (8 small dates) or raisins
- 1/8 tsp salt
- 2 tbsp cocoa powder, optional
Process all ingredients until even crumbs form. (Blenders will yield sticky mixtures, so it’s best to use a food processor.) Transfer to an 8-in square baking dish lined with parchment or wax paper going up the sides for easy removal. Using a piece of wax or parchment paper, smush into the pan until the crust evenly fills the bottom. Make the final layer:
Chocolate Layer:
- 1/2 cup cacao or cocoa powder (40g)
- 1/2 cup virgin coconut oil (80g)
- 2 tbsp pure maple syrup (or liquid sweetener of choice) (28g)
Melt the coconut oil if it is not already melted. Stir together all ingredients to form a smooth sauce. Spread over the other layers. Freeze just until chocolate has started to set, then cut into bars. It is best to cut after 10 minutes or less have elapsed, to prevent cracking. Then place back in the freezer to firm up completely. Bars can be stored in the freezer for a few weeks; thaw before eating.
—> View Chocolate Nanaimo Bars Nutrition Facts <—

P.S. Dirt Candy also sells a Rosemary Eggplant Tiramisu.
Hmmm…


I visit your blog daily and I was super excited when I saw Nanaimo bars. I live in Nanaimo with my boyfriend and nanaimo bars have been the topic of dicussion recently. I wish you would make a non mint version though 🙂
How creative! The spinach is a great idea; that green color is so bright!
I love mint!
I made these yesterday and they taste great!
I put the first two layers in the freezer to harden up a bit so I could spread the chocolate layer on easily. I waited for the chocolate to harden for less than ten minutes but it still broke when I cut them. Still tastes great but they don’t look as nice as yours. Maybe I don’t need to freeze the first two layers since the chocolate is so runny and will spread easily? I also thought the middle layer would be too soft to cut easily without freezing it. Any thoughts?
I love your recipes and can’t wait for your cookbook!
Thank you so much for making them.
Yes, definitely don’t freeze the first two layers before the chocolate… I did this the first time, too, and the coconut oil got hard too fast and cracked.
Dirt Candy sounds like my kind of place!
I desperately want to make these but I don’t do coconut oil. I’m crossing my fingers that it’ll turn out with coconut butter instead. I can’t imagine it’ll be that much different.
I just whipped up these green beauties this morning. I didn’t have enough spinach, so used some Swiss chard, too. Great flavor and healthy ingredients. Thanks, Katie!
We don’t do coconut. Any thoughts on possible substitutes? These sound (and look!) really good. Thanks. 🙂
Wow Katie! These were another big win for me in the kitchen, I finally feel like my healthy treats can compete with our friends’ not so healthy ones 😀 The only hard part for me was the chocolate sauce got a little too thick (mostly as my blender takes forever) and was hard to spread out but I just needed to add a bit more oil and heat it up (I live in a cold, cold place), and it tasted great even if it wasn’t very pretty. FYI for those who asked, I can vouch for the green staying vibrant and wonderful even after they defrost a little too long – we took these to an event over the weekend and just ate with a fork when they got too soft (ie a few hours out of the freezer). Delicious! You are a total lifesaver 🙂
Oh, and as I don’t have access to peppermint extract (at least that I can figure out, just moved to Europe), two drops of peppermint essential oil was just perfect and didn’t overpower the other flavors (no chocolate toothpaste for me this time, ha ha!). (I use oils that are food grade or whatnot if people wonder) 😀
I just made these and loved both how easy they are and how healthy they are! And such a great flavor. These would be a lot of fun around the holidays with the bright green color and the peppermint flavor.
Amazing! I was just wandering around your website looking for replacements for the middle and top layer of my Midnight Mint bar (a mint version of Nanaimo bars). And here it is! I’ve gotta try this!