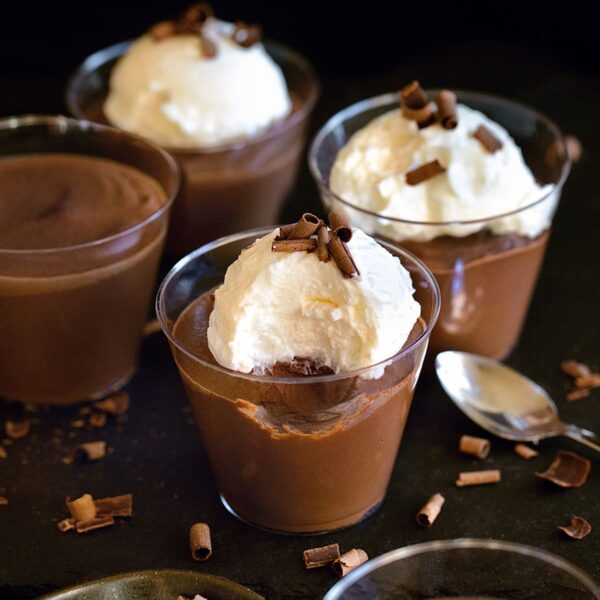
Hello Chocolate Pudding Pies!
Speaking of chocolate pudding… Last week I fixed the voluminous oatmeal post, so this week, I tackled another post in dire need of fixing: the soy-free pudding tutorial post. It was awfully confusing and convoluted.
I’m re-posting the updated post so you don’t have to bother clicking on links to find it; I don’t mean to make you click so many links all the time! It’s just, when you’ve been blogging as long as I have, linking back is sometimes is much easier due to the sheer number of posts.
Awhile back, I wrote an agar tutorial post.
But after receiving questions on my Vegan Peppermint Cream post, I figured it was time for another tutorial—with more specific instructions and photos of every step. ‘Cause working with agar is NOT hard once you get the hang of it. Seriously, I can make an agar pudding with only three ingredients and very little mess to clean.
Oh, and a note on finding agar flakes: Look for Eden agar flakes (pictured below) in the Asian section of Whole Foods. Or, if your WF has none, make a trip to a local Asian market, where the agar flakes might also be cheaper..
But why would you want to use agar?
Four teensy little words for you: Soy-Free Banana Yogurt.
Not to mention peach pudding, chocolate pudding, chocolate cream pie, vegan alfredo sauce… See? You need agar in your life! You can make up a big batch of the “base” ahead of time, then portion it out to make different-flavored desserts, sauces, soups, or whatever else you’re craving, all at once.
“Working with Agar” Tutorial

(Above, Vegan Strawberry Pudding)
Basic Agar Pudding
(makes about 2 cups pudding, or 2 large servings)
- 2 and 2/3 cups nondairy milk
- 2T agar flakes
Follow the directions below.
Then refer to the “add in ideas” section to make puddings, mousses, sauces, and more!
.

Step One: Measure the agar and non-dairy milk into a pot. Before turning on the heat, let the two sit for 5 minutes to help the gelling process.

Step Two: Slowly bring to a boil. After it starts to boil, lower to a simmer until the agar flakes pretty much dissolve, about 5-8 minutes. (They won’t dissolve completely. It should look something like the above photo.)
Step Three: Turn off heat and leave for a few minutes (5ish) to cool, then put in the fridge (covered or not).

Step Four: When it’s cooled and gelled, the fun part begins.
Now you get to make pudding, or even vegan “3-Ingredient” Alfredo Sauce. 🙂
Anything your mind thinks up; be creative! And, as I said before, nothing’s stopping you from making extra, dividing the recipe, and adding different mix-ins to each serving! Put your mix-ins into the pot, and use your hand blender to blend it all together (or, transfer the mixture to a blender or food processor. Lately, I’ve been loving my Magic Bullet).

Below are some add-in ideas I’ve brainstormed (not all of which I’ve tried)… maybe after you experiment, you can come back and leave me comments telling me what YOU did with the basic mix. I’d love to know! (Seriously.)
.
Add-In Ideas:
(I’ve tried #s 1, 3, 5, and 6, with great results)
- Add pureed pumpkin, winter squash, or sweet potato, and add some cinnamon or pumpkin pie spice.
- Add pureed fruit, or even a jar of baby food!
- Add a fruit cup or applesauce, such as in the Apple Pie Pudding.
- Decrease the amount of milk, and add some coffee, for a coffee-flavored pudding.
- Use, as your non-dairy milk, a flavored beverage such as Silk Coffee, Silk Eggnog or Pumpkin Spice, Chai Latte, etc. and don’t add any other fruit… or do!
- Mix in some protein powder.
- Add veggies to make a thick, creamy soup.
- Use coconut milk as the non-dairy milk, and add coconut shavings (and maybe even chocolate chips!).
- Mix in some nut butter, and jelly, fruit, or chocolate chips(!) for PB&J, PB-Banana, or Chocolate-Peanut-Butter-Cup Pudding.
.
Anyone have other flavor ideas???
Final note: you can use Meg’s probiotic trick for a soy-free, dairy-free yogurt!


I just saw some agar flakes at the Asian market the other day… I will have to go back and get ’em! 🙂
I’m OBSESSED with agar pudding! I recently make a “Girl Scout Cookie Pudding” which I really should do a post about… Cocoa pudding, mint, crunchiness? Amazing.
Woah, yes, do blog about that! 🙂
Katie thanks for this amazing idea. I have always eaten agar growing up but never thought to blend it up. It turns out so fluffy (and pretty!) and tastes fantastic I linked you in my recent blog post, I made a spicy/lime agar+tofu pudding. 😉
http://chiliflake.tumblr.com/post/3393986746/chili-lime-pudding
Thank you so much, Nadia!
(I’d comment on your post, but I couldn’t find a space to do so… but I did check it out! It looks awesome!)
katie – thanks for checking my blog! I know about this comments thing… its so annoying! I didnt realise when I signed up for tumblr that only others who have tumblr can comment/follow me. 🙁 I wish I got wordpress! I guess I may have to switch at some point..
have a good wkend! x
After you make the base, how do you store it until you want to use more? Fridge?
ive been experimenting agar agar and have found it such a great addition to my recipes! you should check out some of them on my blog ;). oh and btw i use the microwave instead of boiling on the stove, its so much quicker and easier!
I just made gingerbread! (pumpkin pie spice, maple syrup, Molasses, vanilla and coconut oil! I will try it tomorrow 🙂
Hey Katie! I was just wondering if this recipe, or a variation, could be used to make ice cream? Have you ever tried it?!
Thanks,
Whit
Haven’t tried… If you experiment, be sure to report back!
Is the “T” for tablespoons? & thanks for the recipe!
Yup tbsp